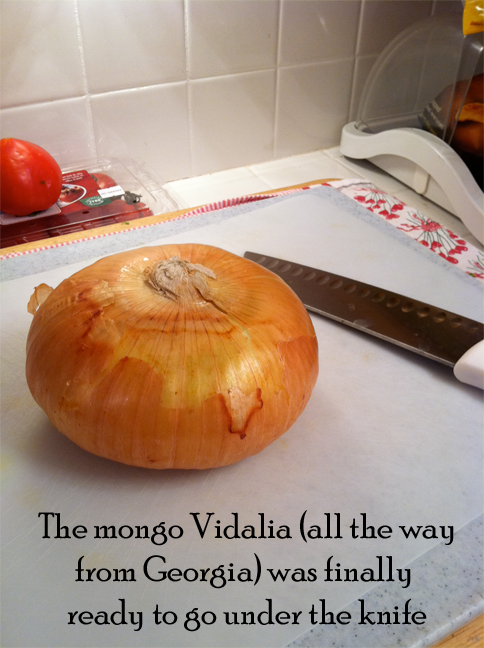
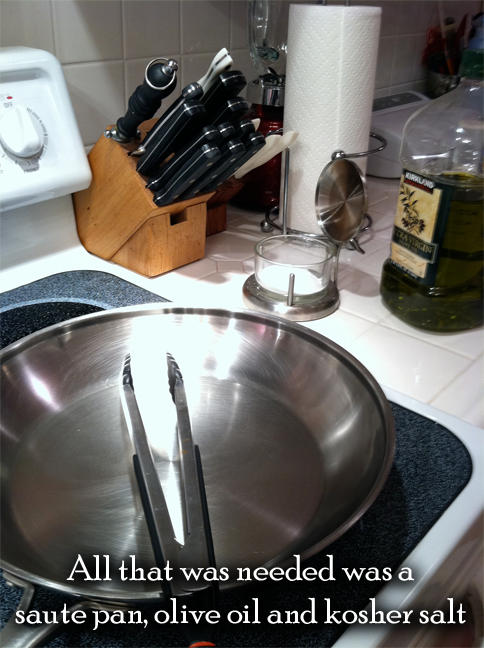
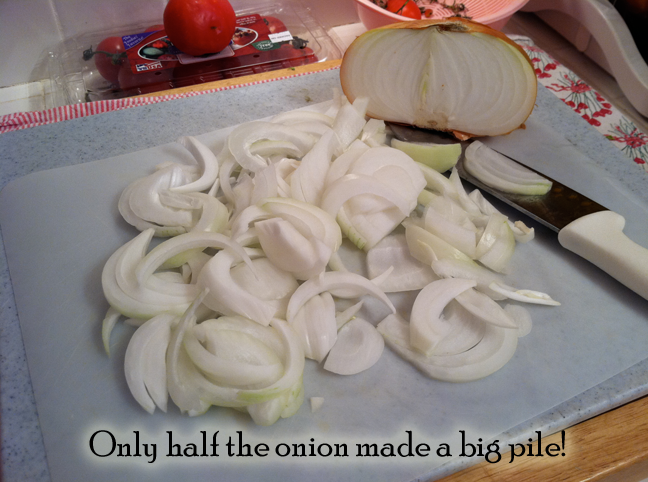
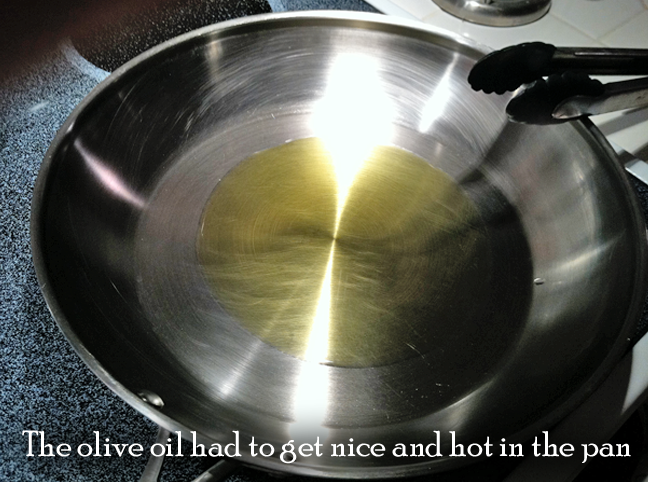
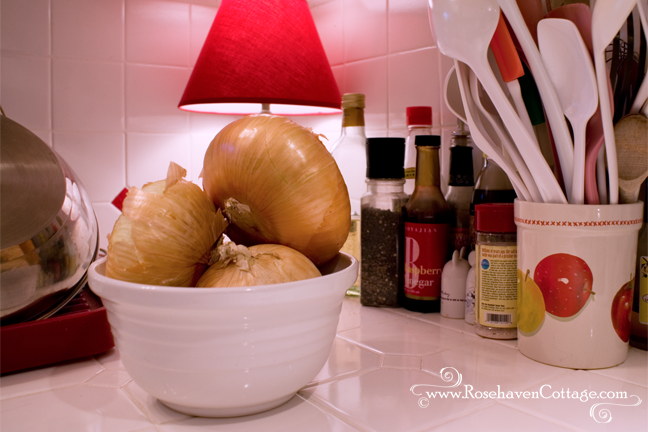
Here's what happened to the Vidalia onion that was FedEx'ed from Georgia


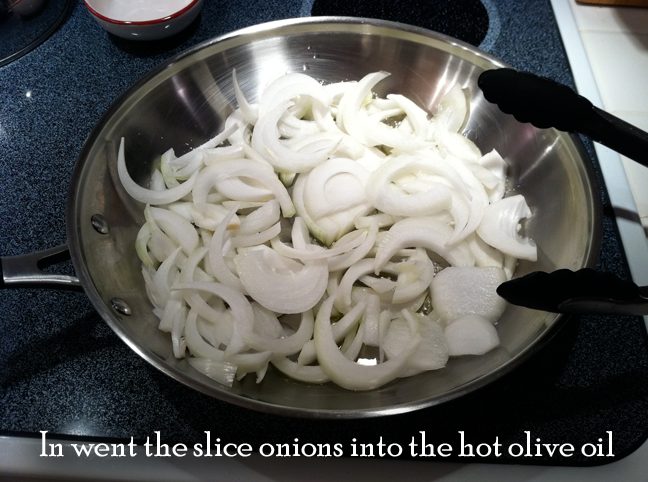
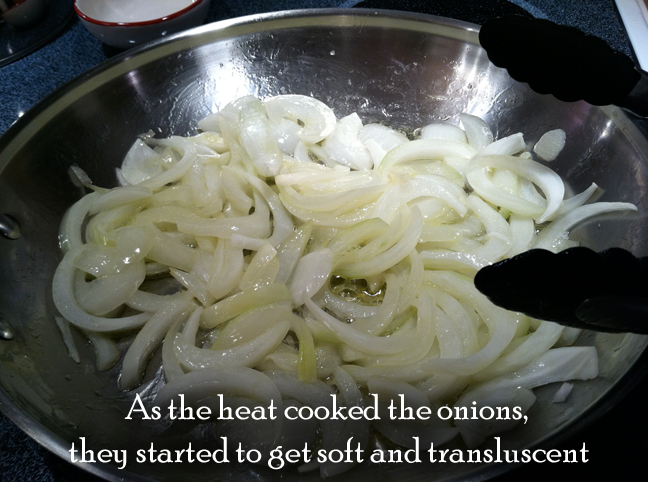
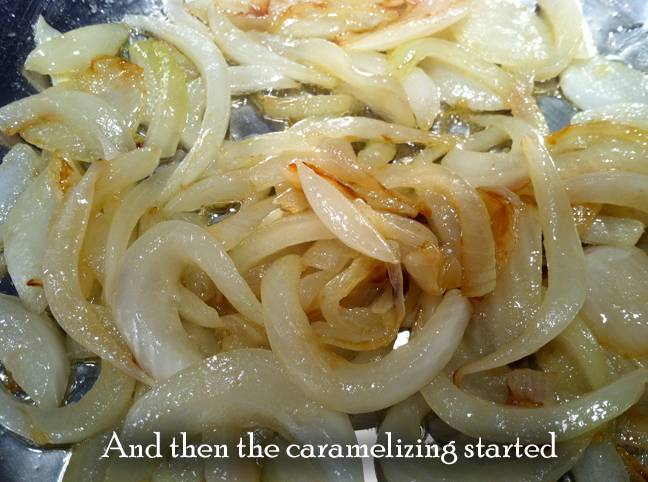
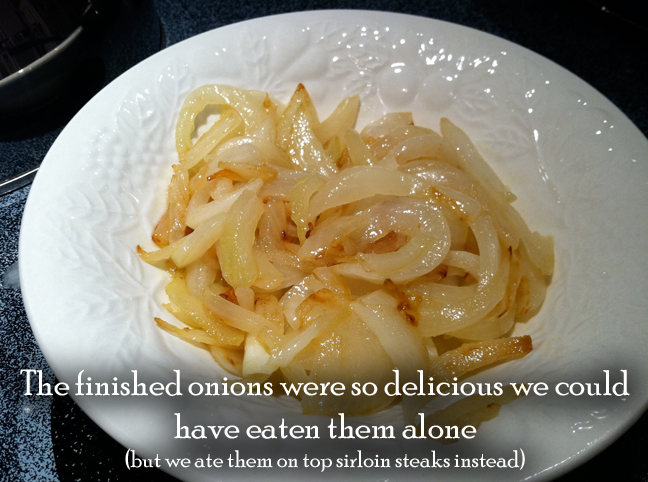
We debated... should the onion be made into onion rings or should they become a wonderful pile of caramelized onion goodness. Friends put in their votes. We capitulated. In the end, two lovely steaks were pulled from the freezer to thaw and this bad boy was given the honor of being caramelized by the very talented Chef Hubby.

As he prepped and cooked, Chef Hubby took photos with his iPhone, so I could share them here on the blog.

Onion 1

Onion 2

Onion 3

Onion 4

Onion 5

Onion 6

Onion 7

Onion 8

Onion 9

I am happy to report that my steak was smothered with a pile of all that onion-y goodness and that Vidalia onion lived up to its reputation. Georgia can be proud.

Now a little bird from Texas tells me there's an onion from the Lonestar State that rivals the Vidalia--the Noonday onion. I'm thinking the Texan may be right. My Grampy was from Texas and said the onions were so sweet he'd eat them like apples. I just gotta get my hands on one to find out.
Pin It!

Chapter 12: The gift of a kitchen sink


Click on any image view it larger and read the captions easier

As our first Christmas in the house approached, we settled into our routine of roughing it. We had a warm bed in the larger of two bedrooms downstairs. We had a toilet and tiny sink vanity upstairs. We had a bathtub and shower downstairs.

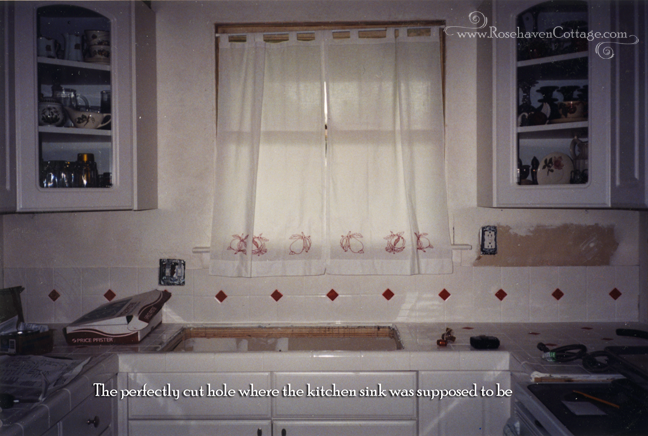
We had no kitchen sink anywhere.


Our kitchen lacking one critical element... the sink

When we had to use “the facilities”, we would trek upstairs to use the toilet up there. When we showered, we gritted out teeth and braved the chilly December air coming through the cracks in the subfloor under the newly installed bathtub and got in and out as soon as possible. When we had to clean a dish or utensil on the odd day we didn’t get take-out or go to a restaurant, we cleaned them in a small plastic bin in the bathtub. It reminded me a lot of camping.

I had always been one to go all out for the holidays—decorating my current abode and filling the air with the smells of Christmas goodies. I figured I could still do a little decorating to make it feel like Christmas. That would have to suffice since we didn’t have a kitchen sink, let alone a clean space to roll out cookie dough. And since both of us were traumatized by the bathroom-plumbing incident, plumbing the kitchen sink wasn’t going to happen any time soon.

One Sunday only a couple of weeks before Christmas, I was sitting in the women's Relief Society meeting at church and the women were having a discussion about Christmas traditions. We were asked to share our Christmas traditions aloud. I sat there listening to wonderful suggestions. All of them sounded lovely—traditions I wanted to incorporate into our lives to make the season merry. But they all sounded so unattainable from the place we were at with the house.

I finally raised my hand and shared, “Every year for as long as I can remember, I’ve found joy in the Christmas tradition of baking cookies and making homemade fudge or English toffee from the recipe my mom had always used. But this year is different. I don’t even have a kitchen sink. So I’m learning that I have to find joy in the season in other ways that are within me. This year, I’m learning a valuable lesson about what the true meaning of Christmas really is.”

After the meeting, a newfound friend approached me and said, “If you really want to bake Christmas cookies, I have a wonderful kitchen with a big island that’s great for making cookies. You are welcome to come over any time and bake as much as you want.”

I was very touched by her thoughtfulness. Even though I couldn’t imagine myself taking her up on the offer, the fact that she had been willing to open up her home to me was gift enough.

Our attempts to decorate for our first Christmas


Our first Christmas tree in the house


Only a day or so went by, and we got a phone call from one of the men in our church congregation. He told us that his wife had been in the Relief Society meeting when I had made my comment. He then said, “You need a kitchen sink. I’m going to come over and install it for you. You will have a kitchen sink by Christmas.”

His blunt no-nonsense approach left us little room to object. Had he not said it in the way he had, Hubby probably would have simply said, “Oh thanks for the offer. We’ll call you when we’re ready,” and then let it go, never to take the man up on his generous offer. I think the man knew that, and he knew exactly how to approach the situation so he could get in to install that sink. He was bold. He was brief. And he meant business. He got Brent to commit to a day later in the week when the installation could happen.

Later in the week, we had another newfound friend (and his wife) in our home. In one evening he installed the kitchen sink and fitted all the plumbing while his wife and I sat in the living room and chatted to get to know one another. In a few short hours, we had a running kitchen sink instead of a hole in the countertop. It was the best Christmas present anyone could have given us—running water in our kitchen.

That Christmas, I learned so much from the example of that couple. I learned what it really means to have a heart willing to serve one’s fellowman. Many people feel charitable at Christmastime. Often the benefactors of that charitable sentiment are bell-ringing Santa’s outside department stores or toy/food drives sponsored by local fire departments. The people who truly benefit from our charity are often faceless and far removed from us. That Christmas in 2000, I realized that not many of us go the extra step of seeking out and finding benefactors personally, and then taking the steps to serve them in the way they need it most.

In the past decade, I haven’t been able to live up to the example of the stellar couple that gave us the best Christmas gift we've ever received, but the bar they've set has me I’m always looking to try.

The most wonderful Christmas gift we've ever received... a kitchen sink!
Pin It!

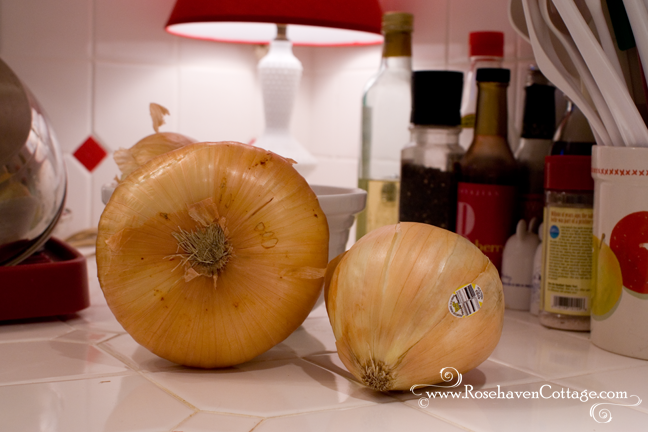
A mongo-sized Vidalia onion Fed-Ex'ed all the way from Georgia

A mongo Vidalia onion all the way from Georgia

Hubby has business colleagues that are located in Georgia, and while chatting with one recently he mentioned that we get Vidalia onions all the way out here on the West Coast in California. He then added the caveat that they're the best and sweetest onions we can buy. His colleague was surprised that Georgia's produce makes it all the way out here.

A few days later, an unexpected FedEx box came to Hubby's office addressed to him with a return address from Georgia. Inside the box Hubby found a beautiful assortment of Vidalia's--one being the biggest onion he has ever seen. He was giddy with laughter when he called me mid-day to tell me about his surprise package. Only a true foodie would do that.

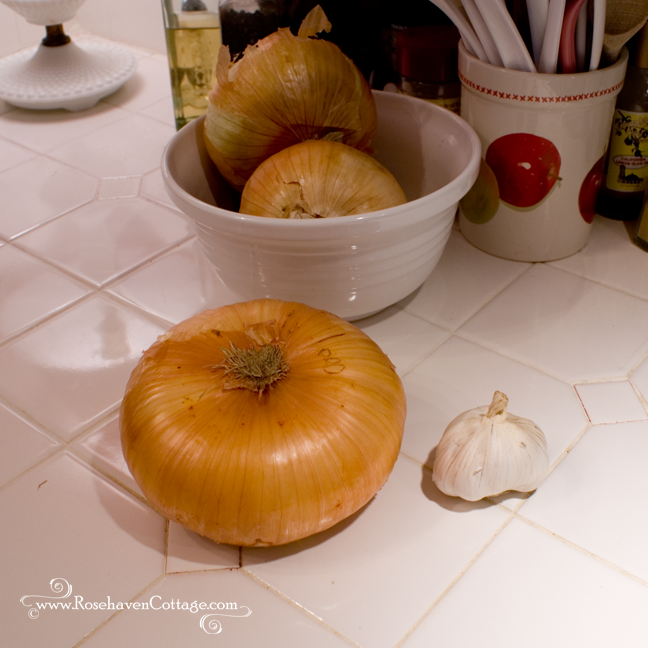
When he came home later that day, I found he wasn't exaggerating about the size of the onion. He doesn't exaggerate so I expected it to be big, but not that big. We put it up next to the largest onion we had from our recent trip to buy produce and it dwarfed it (see photo above).

A mongo Vidalia onion all the way from Georgia

Then I put it next to a head of elephant garlic and the Vidalia's size was even more pronounced (see photo above). It was so striking the Vidalia deserved it's own photo shoot (hence the photos in this post).

A mongo Vidalia onion all the way from Georgia

Now like every onion in our kitchen, it sits in the onion bowl waiting to be cooked up into something super yummy in the hands of my skillful and talented Hubby. He's thinking it'll become homemade onion rings. I'm thinking it might become a lovely pile of aromatic caramelized goodness to be served with chicken or beef. Regardless, I know it will be yummy and live up to the reputation the Vidalia onion has in this household.


Pin It!

My tomato experiment: Yesterday's harvest of our weird and whacky tomatoes

Yesterday's harvest (close-up)

I don't do well growing tomatoes from seed so when it comes time to put some in I go to our local nursery and buy a couple of cell packs of tomato seedlings with 6 plants in each. This year I bought a cell pack of roma tomatoes and a cell pack of cherry tomatoes.

I then conducted my own not-so-scientific experiment.

I planted one each of the plants in clay pots on our deck with morning shade and full afternoon sun in super-fancy-schmancy Miracle-Gro soil that's supposed to produce outstanding veggies. Flanked by separate pots of chives, Italian parsley and basil I expected these plants to do very well with the full sun all afternoon to sunset and the influence of the herbs around them.

I planted a couple more plants down in the ground off the edge of our deck with the same exposure as the pots. I built up a funky little planter around them from scrap concrete blocks (a former mow strip) and put some of the Miracle-Gro soil on top. A week or so later I mulched with some donated rabbit droppings and alfalfa as well as chipped branches from our own yard. I anticipated the green growth might bolt because of the added nitrogen from the mulch but figured it would be a good part of the experiment anyway.

I planted two of the plants in the front garden where mostly roses grow. I have a 4x8 foot planter box in front of our living room window that gets full morning sun from dawn until around 1 or 2 pm then there's shade for the rest of the day from the house. The soil in the planter box is just cheapy top soil from WalMart that we had leftover from another project and had dumped in there and let sit for a season until we planted something in it. I also planted a couple of parsley plants in between the two tomato plants that were at opposite ends of the large planter. I anticipated these plants would do poorly but I wanted them to go into the ground anyway.

Each of the plants, regardless of location, got their own dripper on the drip mist system for watering 15 minutes every morning at a slow drip.

None of my plants were treated with pesticide or herbicide. There isn't any need with companion planting because the good bugs and birds eat the bad bugs, and the proximity to tomato-friendly companion plants takes care of the rest.

Results of my not-so-scientific experiment

The two plants in pots haven't grown larger than about 10 inches high. Their leaves are sickly looking like both plants are on the verge of kicking the bucket. Both produced fruit true to their labeling. The romas (pictured above and below) were the expected size for that variety while the cherry tomatoes were a little on the small side. I was just happy the plants produced anything considering what they've looked like.

The two plants in the ground below the edge of the deck are pretty spindly with tiny leaves but lots of blooms and are about 2 feet high. The fruit is neither a cherry tomato nor a roma. Instead the fruit is shaped like a roma but is smaller than even the smallest grape. Some fruit is smaller than my pinky fingernail with most fruit being the size of my thumbnail.

The two plants in the front planter box were the biggest shocker. The plants are 3 feet high and cover the entire 4x8 foot box. I've had to cut trunks back that were invading the front porch and beginning to block the front door. The size of the trunks are larger in circumference than my pinky finger! The leaves are big and lush as well. I would expect plants with so much energy going to greenery to not produce blooms or fruit. But these plants have been prolific bloomers and were the first ones to produce ripe fruit over a month earlier than the others in back. Like the plants in the ground in back, the fruit is oddly neither roma or cherry but a weird hybrid of the two.

Yesterday's harvest

I've spoken to other gardeners in our area that have said they've had some weird behavior with their tomatoes this year because of our wet spring, unseasonable June rain and cooler than normal temps. I feel better knowing I'm not alone. It was just nice to finally go out and get a harvest yesterday that consisted of more than just a handful of tiny tomato baubles. It's such a weird year for growing tomatoes.
Pin It!

Chapter 11: The birth of our kitchen


Click on any image view it larger and read the captions easier

Our "cave" of a kitchen before remodeling

Like everything else in the remodeling of our house, the kitchen had to be done on a very tight budget with as little money as possible. We tackled the issue of a normally costly kitchen installation three ways.

The first way to cut costs was to purchase unassembled kitchen cabinets and do the assembly ourselves on site. The second way to cut costs was to install the kitchen cabinets ourselves. The third way to cut costs even further was for us to build the countertops ourselves and then tile them ourselves.

Naiveté is such a beautiful thing sometimes. We didn’t have any experience doing any of the aforementioned work. But we had our handy-dandy Home Improvement 1-2-3 book from Home Depot with straightforward directions and illustrations, so we thought, “How hard can it be?”

Photo-6

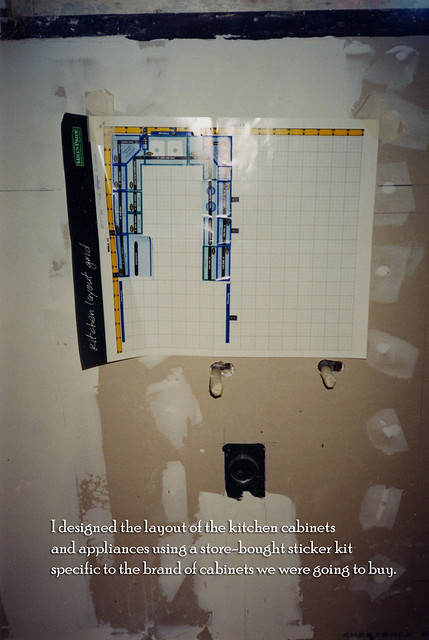
The first thing we bought was a ready-made layout kit made by the manufacturer of the cabinets we were going to purchase. It included a large page with a layout grid as well as sheets of various assorted stickers in perfect scale to the grid. The idea was to lay out the entire space using the provided stickers for walls, doors and windows. Then using the stickers for all the standard-sized cabinets for that manufacturer, you were supposed to lay out the kitchen (including standard-sized stickers for appliances). Once the layout was to your liking, you could go to Home Depot and buy the cabinets using the product numbers on each sticker in your layout.

So that’s what I did.

I’ve been drawing floor plans for fun since I was 8 or 9 years old when I had aspirations of becoming an architect when I grew up. Laying out the floor plan of our kitchen using the sticker kit was a real treat for me. I figured out exactly what cabinets could fit and what configuration was the best for the diminutive space.

After I was done, we went and bought the whole kit and caboodle of various cabinet kits and doors. We had to place an order because they didn’t have them in stock. Our order came in, we got all the boxes home and, before we started to assemble the cabinets, we took the time to watch the DIY instructional video that had come with them. It was dry and boring, but we didn’t want to do anything wrong so we watched it all the way through. Over and over the monotone narrator would instruct how to construct the box that would become cabinets using cams and bolts. Again and again he would warn, “Do not tighten at this time”. By the end of the video, the only thing we really remembered was “do no tighten at this time”.

Photo-7

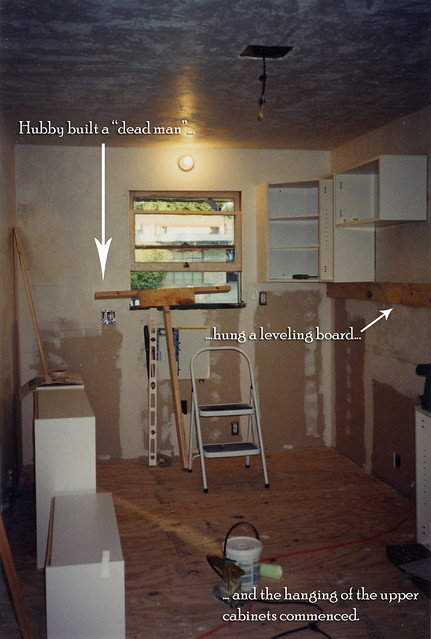
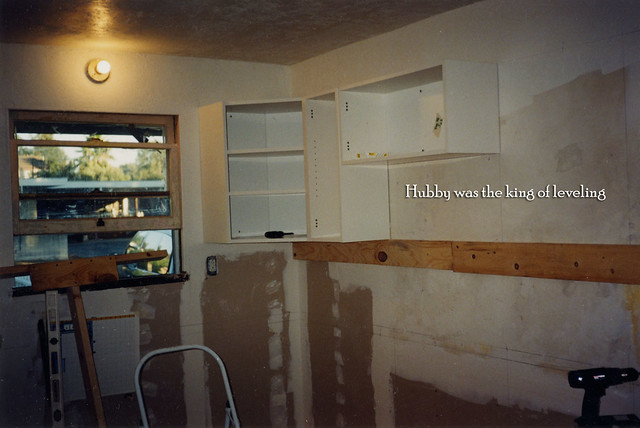
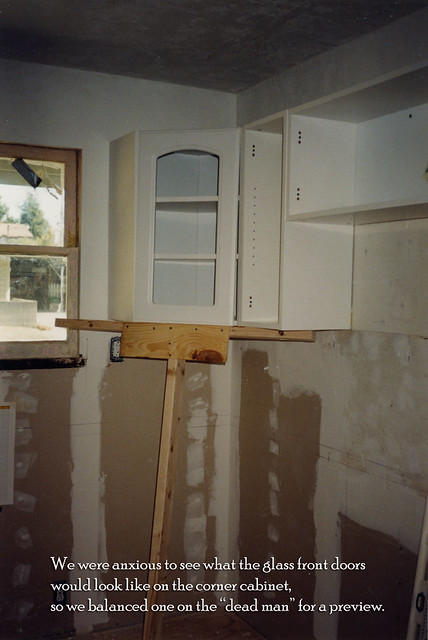
The upper cabinets had to go in first. Hubby built what is called a “dead man”—essentially a pair of 2x4’s in a T formation to prop under the bottom edge of a cabinet while attaching the cabinet to the wall. Hubby also installed a temporary leveling board on the first wall to aid in the process.

It was my job to put together the cabinets. I love puzzles and the assembly of cabinets (or furniture… even IKEA furniture) feels like putting together a puzzle to me, so I enjoyed it.

Photo-8

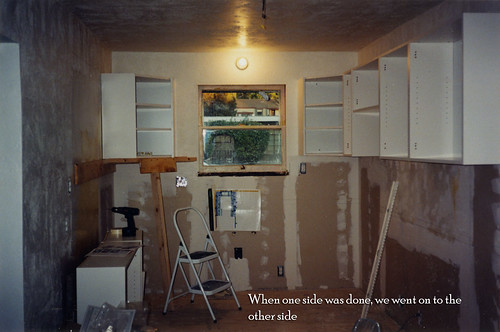
One by one each upper cabinet went up on the first wall until we were ready to begin hanging the cabinets on the opposite wall of what would be a galley-style kitchen layout. With each cabinet installation, we learned how to do it a little more efficiently and little faster.

Photo-9

Photo-10

Photo-11

After the upper cabinets were in, it was time to put in the base cabinets. Base cabinets are bit trickier in an old house with unlevel floors because you can’t simply draw a level line on the wall and hang them. Each cabinet has to be leveled independently with shims (triangular pieces of wood). Shimming made the process go slower than hanging the upper cabinets. But we managed to complete that too.

Photo-12

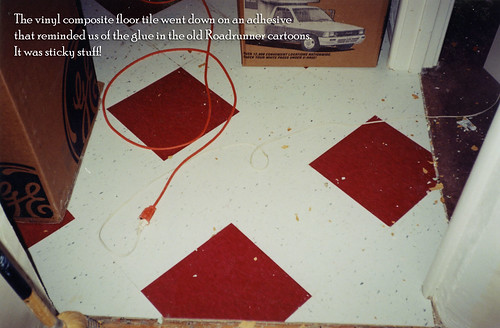
Once all the base cabinets were in, we could finally lay down a real floor on top of the plywood underlayment that had been our floor surface up to that point. We chose a vinyl composite tile (exactly like commercial floors) for its vintage look as well as its durability as we knew that during the rest of the phases of construction that the kitchen floor would have to survive a lot. The tiles (made by Armstrong) had to be installed using a caustic smelling runny adhesive that came in large buckets. The adhesive had to be troweled on with a specific toothed trowel, left to sit for a couple of minutes, and then the tile could be set on it. We learned to do workable patches of adhesive instead of trying to trowel large areas. We found ourselves laughing as we repeatedly got hands and shoes stuck on the adhesive because it was just like Wile E. Coyote in the old Warner Brothers Roadrunner cartoons with his “Acme glue” getting stuck on the railroad tracks right before a train bears down on him. We laughed as we joked about the possibility of a train barreling through our kitchen while we were stuck to the floor.

Photo-13

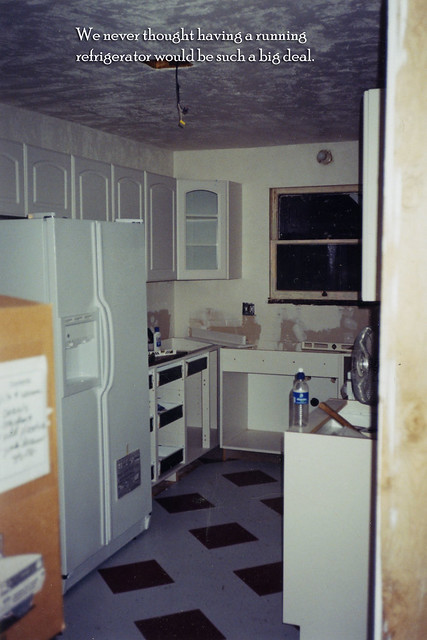
Once the floor tiles were all in place, we were able to move the appliances into their proper “homes” in the kitchen and free up much-needed floor space where they had resided after being delivered earlier than we were ready for them. I cannot express how wonderful it was to hook up the water line to the refrigerator and plug it in. The hum of an operating refrigerator was one of the best sounds in the world. We could finally keep food at the house because we could refrigerate it. And we had filtered and chilled water on tap! I never thought I would appreciate having a refrigerator so much. I was (and still am) reminded of how blessed I am to live where I can have this amazing luxury.

Photo-14

Photo-15

The next phase of the installation of the kitchen was the construction of the countertops. The original countertops had been tile, so we decided that we would stay true to the era of the house and put in tile. Our archangel in overalls had gone back to university so we were on our own with this tiling job. Turning to our handy-dandy home improvement books again, we read up on how to build tile-ready countertops. Again, naiveté was a blessing. We dove right in and built the plywood underlayment on all the base cabinets and then, working as a team, we tiled the countertops the way we had seen my brother tile our shower. We borrowed Josh’s tile saw he had used to tile our bathroom, and Hubby did the cutting while I did the measuring and laying of the tiles. I used the smallest tile spacers I could find so the grout lines would be the smallest I could make them. Then I went back in and grouted using a technique I came up with on my own. I put the grout in a large Ziploc bag and twisted it down like a cake decorating or pastry bag. I cut the tip off the Ziploc and piped the grout into the fine 1/16” grout lines before pressing the grout in with a grout paddle followed by a wipe down with a wet sponge. It worked! The grout has lasted for almost 11 years and is pretty easy to clean compared to wide grout lines.


Photo-16


We bought a beautiful cast iron Kohler sink, but because of the traumatic plumbing incident in the bathroom, the kitchen sink sat on the floor uninstalled. We were just so thrilled to have a fridge and stove we were willing to do dishes in the bathtub, especially if it meant preventing a fiasco like the flooding of the bathroom.


Photo-4

Pin It!

Our small pond makes for sweet strawberries

Getting there

There are certain nooks in my garden where strawberries grow very well. All those nooks are located very close to the pond so it must have something to do with the environmental influence of the water. I've tried to grow the strawberries only 20 feet away with horrible results. But when I've transplanted the plants that are struggling to a place by the pond, they flourish. It's amazing how much the proximity to the water affects them.

The interesting thing is our pond isn't large. It's not very deep either--less than 3 feet in the deepest spots. Our petite lot is only 50 feet wide so nothing can really be that large. The pond maybe holds 1200 gallons but I think that's a generous estimate.

It is fascinating to me that something so relatively diminutive like our pond has such a profound influence on the growth of something else like the strawberry plants and their fruit.

I think people are like our pond. In the overall view of the world and universe, each person is so small. But I've seen someone that is relatively diminutive have a profound effect on those within their sphere of influence. And then those that have benefitted from that seemingly small influence go on to produce families, homes, creations and spheres of influence that are sweet and wonderful fruits, just like my strawberries.

And like the pond, those influential individuals do what they do usually without any knowledge of the sweetness they brought into being. They just live their lives, sharing their essence. How fortunate we are to have them in our lives.
Pin It!

Another lesson learned from nature: even hummingbirds can look chubby in photos

Hummingbird silhouette

My photogenic hummingbird friend was completely unaware that she was the focus of my photo shoot as she sipped nectar from the blossoms of the Eureka lemon. I liked the back-lighting effect from the late evening summer sun, so I turned on my speed shutter and snapped away.

It wasn't until I got back in the studio to post-process the photos on the computer that I made an interesting discovery. Look at the adorable shot I managed to catch as she flew away...

Hummingbird silhouette (outtake)

I had to giggle. The graceful sleek little hummingbird looks like she has a backside that's quite chubby. I know she really doesn't. But the angle of the photo makes her look like she does.

A valuable lesson for those of us that hate to see ourselves in photos... photos don't necessarily reflect reality. They can even make a hummingbird have a "bad side".
Pin It!

Our backyard wildlife habitat: The dragonflies of summer

Dragonfly on New Zealand flax

One of my favorite things about summer is the arrival of the dragonflies. They grace us with their presence until early autumn and then we don't get to see them again until the following summer.

Helpful and hospitable guests, dragonflies eat mosquitoes and gnats on the wing. On warm summer evenings right before sunset, if I look up I can see them zipping back and forth over the garden forming a canopy of sorts. Like our own tiny fleet of jet-fighters, they are waging and winning a war against the bugs we don't want and I rarely get bit by mosquitoes when the dragonflies are on patrol.

Dragonflies and damselflies (a smaller cousin) like water sources, so they love our pond. They also like to have foliage that hangs over the water's edge. The large lily pads in our pond serve as landing pads for females to lay their eggs by hanging their tails over the edge of the pads into the pond water.


Because our pond is kept chemical-free, dragonfly and damselfly eggs that get laid in the water eventually hatch into nymphs that burrow in the silt and sediment at the bottom of the pond to grow until they're big enough to go through metamorphosis and get their wings. Then they join their cousins that come from other nearby water sources to fly above our pond during the warm summer days and evenings.

This is one of those seasonal cycles of life that I only discovered since building our garden so it was wildlife-friendly. And the dragonflies of summer are something I have grown to love and cherish. I can't imagine summer without them now.

Pin It!

© 2007-2015 All rights reserved by Cindy Garber Iverson.
All images, photos and writing
(unless otherwise noted)
belong to Cindy Garber Iverson.
Use of content in digital or print form is strictly forbidden without written consent.
Just ask... I may say "yes".
Photography Prints
celebrations.com Invites & eCards
//Pin it button